How to Prevent Knee Injury from Running: Form, Strength, and Load
Most running knee injuries are not bad luck. They're the result of fixable problems in training load, hip strength, and running form. Here's what actually prevents them.
· 8 min read · Injury Prevention
Your knees are not weak. Your hips probably are.
This sounds counterintuitive when the pain is clearly coming from your knee. But runner's knee - the catch-all term that most often means patellofemoral pain syndrome (PFPS) - is rarely a knee problem at its source. The knee joint is a hinge. It goes forward and back. What hurts it is when forces from above (weak hips, overstriding) or below (poor foot mechanics, worn shoes) cause the kneecap to track incorrectly along its groove.
Fix the causes, and the hinge works fine. This is why a knee sleeve and ice alone almost never solve runner's knee - they're treating the symptom, not the reason.
!Runner with knee support running on a track at night with orange lighting
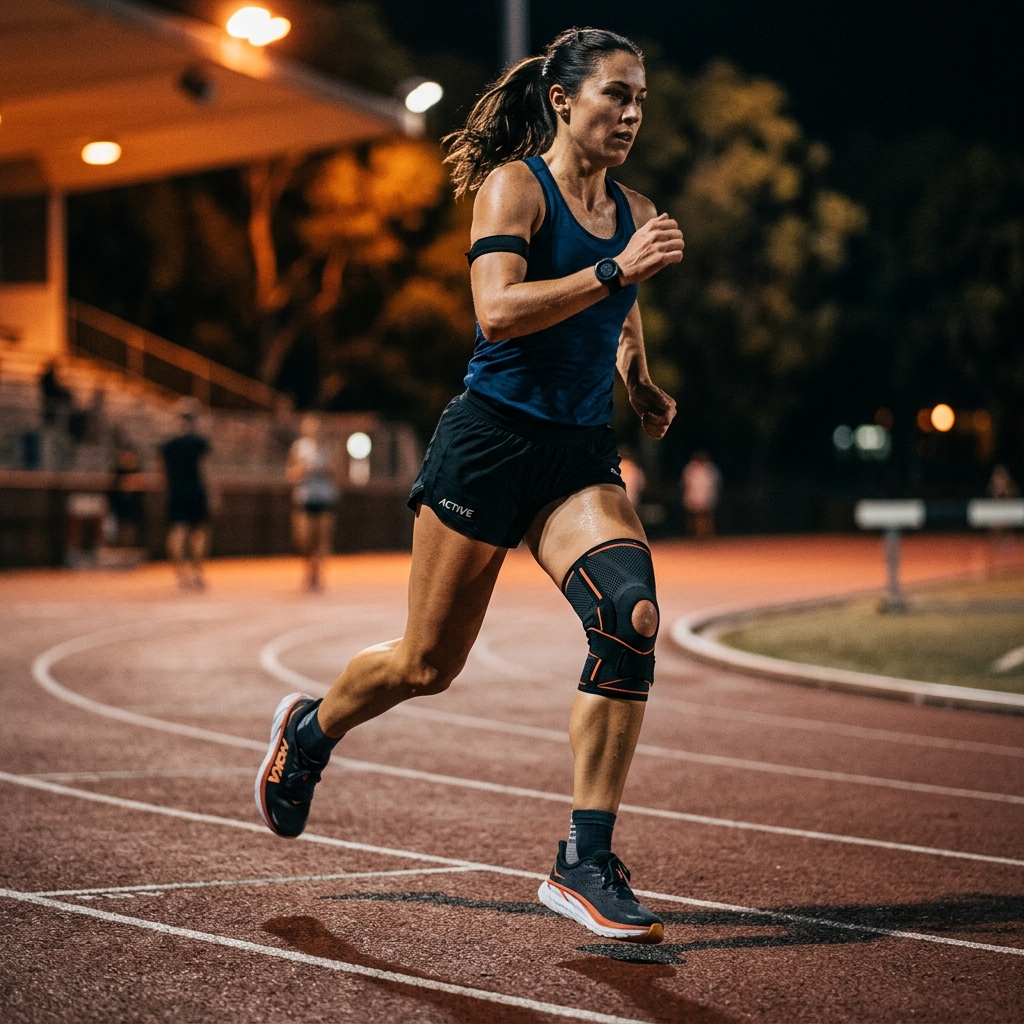
Why knees get injured in running
Running is a single-leg sport. Every stride, your entire body weight plus the deceleration force of landing (typically 2-3 times body weight) is absorbed through one leg. Your hip, glute, and quad on that side need to be strong enough to control that force. When they can't, the knee takes compensatory stress.
The main mechanisms:
Weak hip abductors (glute medius). This small muscle on the outside of your hip keeps your pelvis level during the stance phase. If it's weak, your pelvis drops on the opposite side - called the Trendelenburg sign. This causes your femur (thigh bone) to rotate inward, dragging your kneecap with it. The kneecap rubs against the femur incorrectly, and you get pain behind or around it. This is why the weak hips post matters so much.
Overstriding. Landing your foot significantly in front of your hip creates a braking force - a sudden deceleration jolt that travels up the lower leg and hits the knee. Runners who overstride tend to extend their knee more at landing, which increases the patellofemoral contact force with every step.
Too much too soon. The cartilage and tendons around the knee adapt to load more slowly than your cardiovascular fitness improves. This gap is where most knee injuries originate - your fitness is ready for more miles, but your knee's supporting structures aren't.
Tight quadriceps and IT band. Chronically tight quads increase the compressive force on the kneecap. A tight IT band (iliotibial band) can pull the kneecap laterally. Neither problem is fixed by stretching alone - you also need to address the strength imbalances that cause them.
Prevention strategy 1: Hip and glute strength
This is the highest-leverage intervention for most runners' knee problems. The research on hip strengthening for PFPS is consistently positive - multiple randomised trials show that hip abductor and hip extensor strengthening reduces patellofemoral pain as effectively as (and in some studies, more effectively than) quad-focused exercises alone.
!Gluteus Medius Activation and Knee Protection Diagram
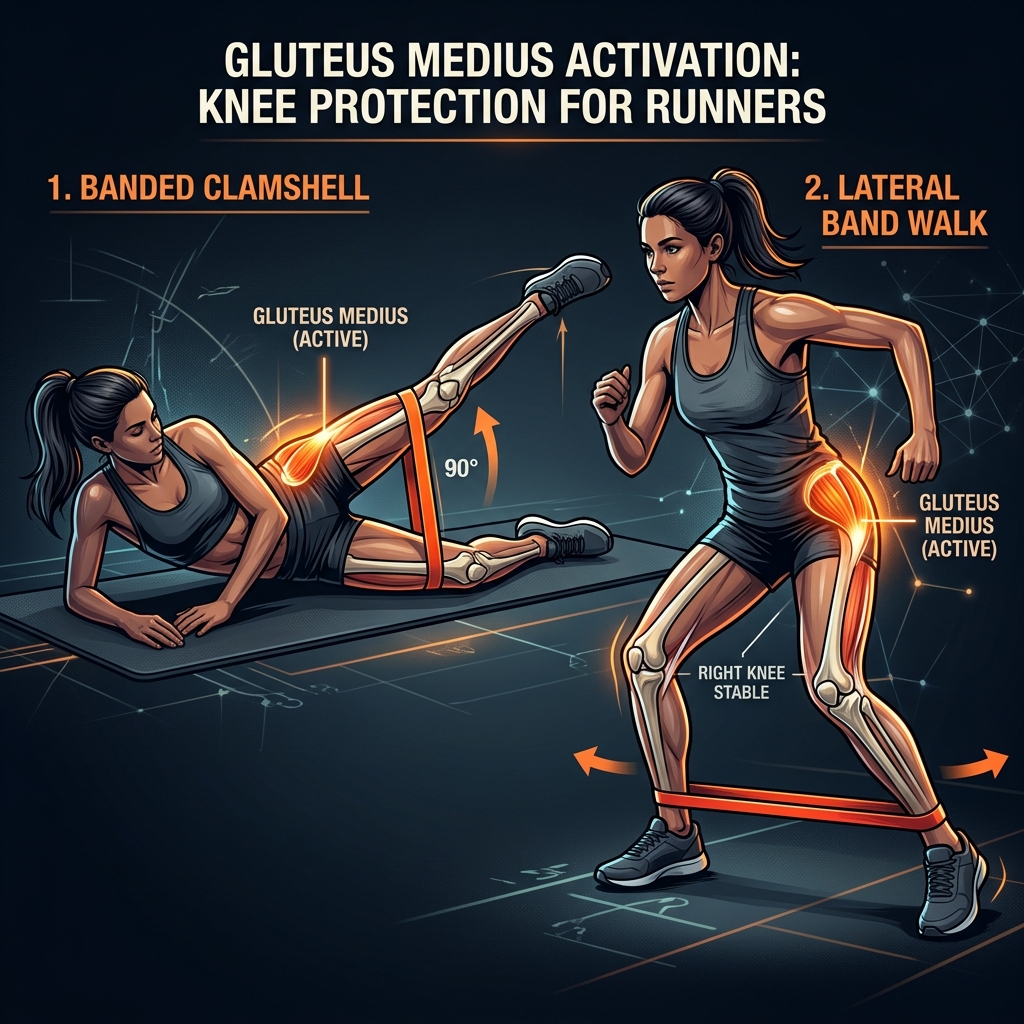
| Exercise | Primary Target | Reps & Sets | Why It Protects Your Knees | |----------|----------------|-------------|----------------------------| | Banded Clamshell | Gluteus Medius | 3 sets x 15 reps/side | Prevents inward femoral rotation & knee collapse | | Single-Leg Glute Bridge | Gluteus Maximus | 3 sets x 10–12 reps/side | Controls pelvic drop during single-leg stance | | Lateral Band Walk | Hip Abductors | 2–3 sets x 12 steps/direction | Primers pelvic stability during stride footstrike |
Three exercises that reliably activate the right muscles:
Clamshell with resistance band Lie on your side with a resistance band looped just above your knees. Feet together, knees at about 45 degrees. Keep your pelvis stable (don't rock backward) and open your top knee against the band's resistance. The burn should be in the outer pocket of your hip, not in your thigh. If your hip is rocking to compensate, your glute medius is too weak for the band tension - remove the band until the movement is controlled. 3 sets of 15 reps per side.
Single-leg glute bridge Lie on your back, knees bent, feet flat. Extend one leg. Drive the hip of your supporting leg up toward the ceiling, squeeze your glute at the top. Don't let your non-working side drop. Lower with control. 3 sets of 10-12 reps per side.
Lateral band walk Loop a resistance band around your ankles or just above the knees. Slight squat position, toes forward. Step sideways with control - take 10-12 steps right, then 10-12 steps back left. The working muscles are the hip abductors. You should feel this in the outer hip, not the knee. 2-3 sets each direction.
These are unglamorous exercises, but the research behind them for knee injury prevention is stronger than almost anything else you can do. Do them 3x per week, ideally as part of a post-run or strength routine. The strength training for runners guide integrates them into a broader program.
Prevention strategy 2: Running form adjustments
Two form changes are supported by evidence for reducing knee load:
Increase your cadence. Research shows that increasing stride rate by 5-10% - taking shorter, quicker steps rather than longer, slower ones - reduces the peak impact force at the knee. At your normal pace, count your steps for 60 seconds. If you're below 160 steps per minute (combined), your cadence is likely contributing to your knee load.
To increase cadence: use a metronome app set 5% above your current rate, or use music at the target BPM. Don't try to jump to 180 immediately - a 5% increase sustained over 4-6 weeks is enough to get most of the injury-prevention benefit.
Land under your centre of mass. Overstriding - landing with your foot well out in front of your hips - means your knee is more extended at landing, which dramatically increases patellofemoral contact force. The fix is to shorten your stride slightly, land with a softer knee, and feel like your foot is almost passing under your hips before contact. The overstriding guide covers the cues in detail.
Run uphill occasionally. Gentle hills (3-5% gradient) encourage a natural forward lean and shorter stride, both of which reduce knee stress. Uphill running also loads the glutes more than flat running, which builds the hip strength that protects your knees.
Prevention strategy 3: Sensible load management
The cartilage covering your knee joint has limited blood supply, which means it adapts to training load slowly. Your aerobic fitness can improve in 2-3 weeks. Your articular cartilage takes months. This is why fit athletes can still develop knee problems - they ramped up load faster than their cartilage could handle.
Practical rules:
- Don't increase weekly mileage more than 10-15% week-over-week
- Include one down-week every 3-4 weeks at 70% of your recent peak volume
- Avoid back-to-back days of long or hard runs - give your knees 48 hours of reduced load between key sessions
- If you're adding speedwork, don't increase it and volume at the same time
A structured training plan that accounts for your current fitness and progression rate removes most of the guesswork here.
Prevention strategy 4: Footwear and surface choices
Footwear matters less than most runners think, but it's not irrelevant.
Shoe age: The cushioning foam in a running shoe degrades significantly by 600-800km, often before the outsole looks worn. Running on dead shoes means your knees are absorbing impact that the shoe should be handling. Check your shoe mileage if you can.
Surface rotation: Varying between road, trail, grass, and track means the precise impact stresses on your knees change with each session. Exclusively running on hard surfaces accumulates identical stresses repetitively. Some trail or grass running, even once a week, gives your knee structures some variety.
Drop height: Some runners find lower heel-to-toe drop shoes shift load from the knee toward the ankle and calf. Others find the opposite. There's no universal answer here - if you're considering a significant shoe change (e.g., from 12mm to 4mm drop), do it very gradually over 6-8 weeks to allow adaptation.
Early warning signs to take seriously
Knee injuries are much easier to address at the first sign than after weeks of training through pain. Take a step back if you notice:
- Pain that starts dull and becomes sharp during a run
- Knee pain when walking down stairs (a classic PFPS sign)
- Pain that persists more than 24 hours after a run
- Swelling around the kneecap
- A catching or clicking sensation with pain
The pain decision tree guide helps you decide when to keep training (modified), when to rest, and when to see a professional.
FAQ
Is it safe to run with knee pain?
Mild, non-worsening ache during an easy run is generally manageable with load reduction and strengthening. Running through pain that worsens during the run, causes limping, or doesn't settle within 24 hours is not advisable. See a physiotherapist if you're unsure.
Will a knee brace help prevent running knee injuries?
Evidence for prophylactic (preventive) bracing in the absence of existing injury is limited. A patella-tracking brace can provide some pain relief for PFPS during runs while you address the underlying strength and form issues, but it doesn't fix the root cause.
Does running damage cartilage long-term?
Interestingly, the research suggests the opposite for moderate runners. Studies comparing long-term runners to sedentary people show lower rates of knee osteoarthritis in recreational runners. The key qualifier is "moderate" - very high mileage with existing injury history is a different matter.
My knees crack when I bend them. Is that a problem?
Crepitus (the grinding or popping sound in knees) without pain is common and generally harmless. If it's accompanied by pain, swelling, or instability, see a doctor.
Build your injury prevention foundation with a personalised running plan that balances mileage, strength, and recovery. And if you're already dealing with hip-related knee pain, the weak hips guide shows you the specific activation drills that address the root cause.